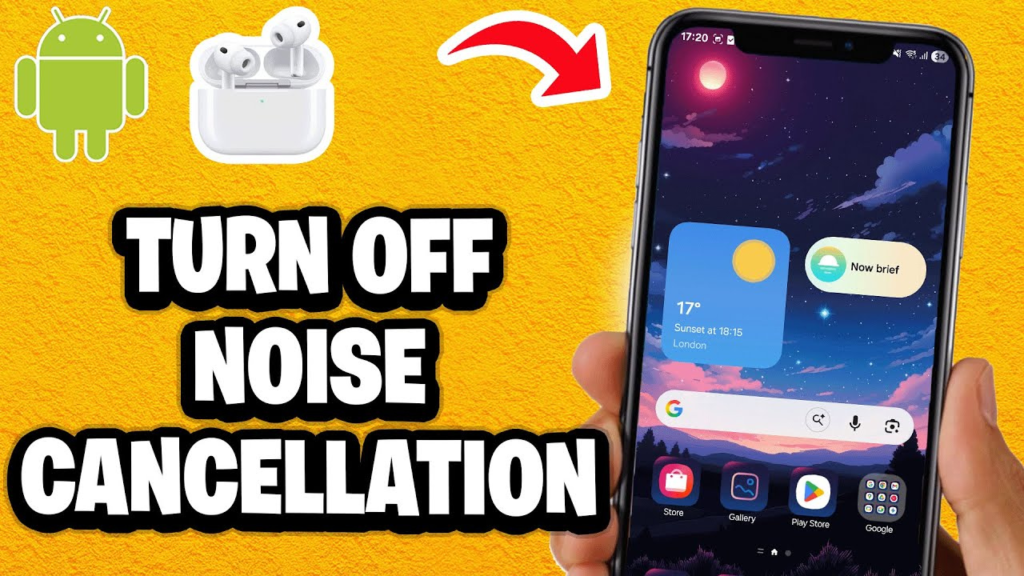
You’ve just unboxed your new earbuds, but the world around you is still too loud. Whether you’re on a crowded train or working in a noisy cafe, the “Pro” and “Max” features of Apple’s lineup are designed to give you instant silence. But if you aren’t sure how to turn on noise cancelling on AirPods, you aren’t getting the full value of your investment.
Active Noise Cancellation (ANC) uses external microphones to detect outside sounds and cancel them out with “anti-noise” before they reach your ear. The process is seamless, but there are actually four different ways to trigger it depending on whether you’re using your fingers, your iPhone, or even your Apple Watch.
Getting the best out of airpods noise cancelling features depends on having a perfect ear tip seal. Many users prefer the airpods pro 2 noise cancelling capabilities because they block out significantly more background sound than previous versions.
Exploring noise cancellation AirPods Pro settings allows you to switch between Transparency and Active Noise Cancellation modes instantly. Whether you call it AirPods noise cancellation or noise-canceling AirPods Pro, the advanced H2 chip technology ensures a peaceful listening experience in loud environments. Investing in airpods pro noise cancelling technology remains one of the top choices for frequent travelers and commuters.
Key Takeaways
- Compatibility Check: Only AirPods Pro (1st & 2nd Gen), AirPods 4 with ANC, and AirPods Max support this feature.
- On-Device Control: You can toggle ANC by long-pressing the force sensor on the stem of your AirPods.
- Control Center: The fastest way to switch modes on your iPhone is through the Volume Slider in the Control Center.
- Fit Matters: Noise cancellation won’t work effectively if you don’t have a perfect seal; use the Ear Tip Fit Test in your settings.
- New in 2026: Adaptive Audio now blends ANC and Transparency based on your environment—we’ll show you how to manage it.
1. How to Turn On Noise Cancelling Using the AirPods Stem
This is the most convenient method when your phone is in your pocket.
- The Action: Find the indented “force sensor” on the stem of either the left or right AirPod.
- The Long Press: Press and hold the sensor until you hear a chime.
- The Feedback: A “dull” chime usually indicates you’ve entered Noise Cancellation, while a “higher” chime means you’ve switched to Transparency mode.
2. Using the iPhone or iPad Control Center
Activating noise cancellation on iphone devices ensures your voice stays clear even in busy environments.While older models use a toggle for phone noise cancellation in settings, newer versions rely on Voice Isolation to manage noise cancellation in iphone calls.
Using noise cancelling on iphone through the Control Center effectively blocks background distractions, while a dedicated noise cancelling iphone setup with AirPods provides the best overall experience.
- Open Control Center: Swipe down from the top-right corner of your screen (or up from the bottom on older iPhones).
- The Volume Slider: Long-press the volume bar (it should show an AirPods icon).
- Noise Control: Tap the Noise Control icon at the bottom left.
- Select Noise Cancellation: Tap the “Noise Cancellation” button to turn it on.
Read Also: How to Rename iPhone
AirPods Noise Mode Comparison
| Mode | Best For | What it Does |
| Noise Cancellation | Airplanes, Offices, Focus | Blocks out almost all external background noise. |
| Transparency | Walking in traffic, Conversations | Amplifies outside sound so you can hear your surroundings. |
| Adaptive Audio | Daily Commuting | Dynamically adjusts between ANC and Transparency based on noise levels. |
| Off | Saving Battery | Disables all microphones used for noise control. |
3. How to Activate ANC via Settings
If you want to customize which modes are available when you click the stems, go deeper into the settings menu.
- Go to Settings > Bluetooth.
- Tap the “i” icon (More Info) next to your AirPods name.
- Under the “Noise Control” section, tap Noise Cancellation.
- Pro Tip: You can also check the Ear Tip Fit Test here to ensure your silicone tips are the right size for your ears.
4. Turning On Noise Cancelling on Mac and Apple Watch
You aren’t limited to your phone. Apple’s ecosystem allows for easy switching across devices.
On a Mac:
Click the AirPods icon in the Menu Bar (or the Control Center icon in the top right) and select Noise Cancellation under the “Noise Control” list.
On an Apple Watch:
While listening to audio, tap the AirPlay icon (the triangle with circles) in the Now Playing screen. You can toggle Noise Cancellation directly from your wrist.
5. Troubleshooting: Why Can’t I Turn On ANC?
If you are struggling with how to turn on noise cancelling on AirPods, check these common culprits:
- Single Earbud Use: By default, ANC only turns on when both earbuds are in your ears. To change this, go to Accessibility > AirPods and toggle on “Noise Cancellation with One AirPod.”
- Dirty Microphones: If the external black mesh on your AirPods is clogged with earwax or debris, the microphones can’t “hear” the noise to cancel it.
- Outdated Firmware: Ensure your iPhone is up to date; AirPods update their firmware automatically when connected to power near your iPhone.
Conclusion
Now that you know how to turn on noise cancelling on AirPods, you can finally enjoy your music without the distractions of the outside world. Whether you prefer the physical squeeze of the stem or the sleek interface of the Control Center, the power of silence is just a click away.
Would you like me to find a guide on how to clean your AirPods microphones safely to keep your noise cancellation sounding crisp?
FAQ Section
Q: Does noise cancelling drain the battery faster?
A: Yes. Using Active Noise Cancellation generally reduces your listening time by about 30–60 minutes compared to having the feature turned off.
Q: Can I turn on noise cancelling without playing music?
A: Absolutely. You can use your AirPods as high-tech earplugs. Simply put them in and activate Noise Cancellation via the stem or your phone to enjoy immediate quiet.
Q: Why do I still hear high-pitched noises with ANC on?
A: Active Noise Cancellation is best at blocking consistent, low-frequency sounds (like airplane engines or AC hums). Sudden, sharp, or high-pitched sounds like a baby crying or a car horn are much harder for the technology to cancel out entirely.
Q: Is AirPods 4 noise cancelling as good as AirPods Pro 2?
A: While the AirPods 4 with ANC are impressive for an “open-ear” design, the AirPods Pro 2 provide better noise cancellation because the silicone tips create a physical seal in your ear canal.