Have you ever sat down to sketch everyone’s favorite deep-sea fry cook, only to end up with a lopsided yellow blob that looks more like a piece of Swiss cheese than a cartoon icon? You aren’t alone. While SpongeBob SquarePants might look like a simple “wavy rectangle,” his proportions and expressive features are surprisingly specific.
The secret to learning how to draw SpongeBob isn’t in the details—it’s in the foundation. By breaking him down into basic geometric shapes, you can capture his bubbly energy every single time.
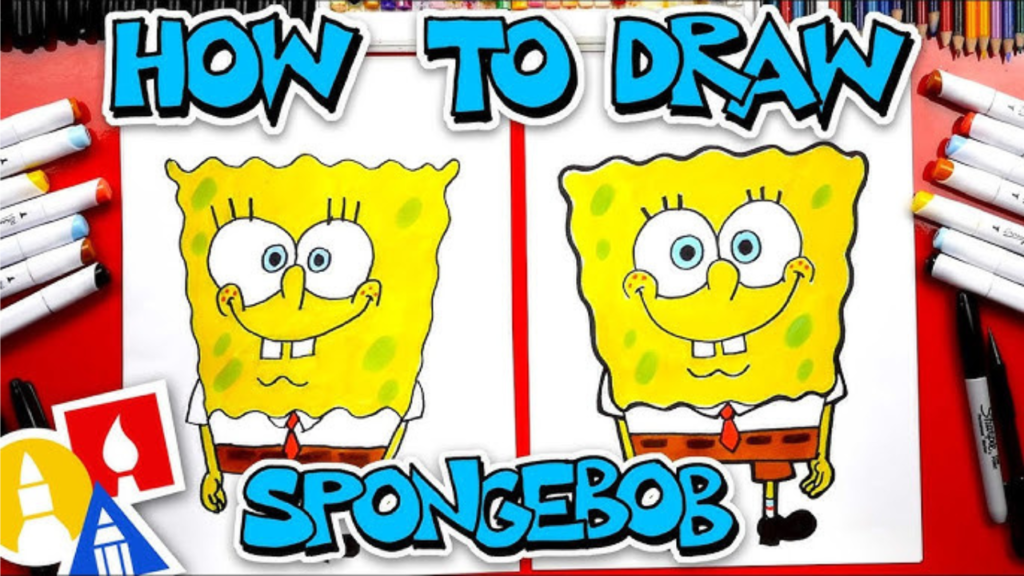
Creating an easy spongebob drawing starts with a simple rectangular sketch of spongebob. Many artists find a spongebob easy to draw by using basic shapes to form a spongebob sketch. You can discover how to draw a spongebob by following a step-by-step guide for a perfect spongebob squarepants drawing.
In this guide, we’ll walk you through the professional “under-sketching” method used by animators to bring the porous star of Bikini Bottom to life.
Key Takeaways
- Start with a Rough Shape: Use a “vase” or a slightly tapered rectangle to establish his body before adding the wavy edges.
- The Rule of Thirds: His face occupies the top two-thirds of his body, while his “square” pants take up the bottom third.
- Eyes are Everything: His large, overlapping eyes are the anchor of his face; get these right, and the rest falls into place.
- Wavy, Not Zig-Zag: His edges should be soft, organic waves to mimic a real kitchen sponge.1
- Keep it Light: Sketch your initial guidelines with a light touch so they’re easy to erase once you ink the final lines.
1. Phase One: The Basic Skeleton2
Before we get to the “spongy” parts, we need a frame. Think of this as the mannequin you’ll dress up later.
Step 1: The Main Body
Draw a large rectangle in the center of your paper. For a more dynamic look, make the top slightly wider than the bottom. This is the base for his head and torso.
Step 2: The Face Guidelines
Draw a vertical line down the center and a horizontal line about one-third of the way up from the bottom. The area below the horizontal line is where his shirt and pants will go.3
Step 3: Limb Placement
Draw two small circles below the rectangle for his feet and two smaller circles on the sides for his hands. Connect them with thin “noodle” lines.
2. Phase Two: Drafting the Face
This is where the magic happens. SpongeBob’s face is centered around his eyes and nose.4
- The Eyes: Draw two large, overlapping circles right in the center.5 Inside, add two smaller circles for the irises (blue) and even smaller dots for the pupils (black).6
+1 - The Nose: Starting between the eyes, draw a long, slightly upturned “U” shape that loops over the right eye slightly.
- The Mouth: Draw a wide, joyful arc. At the ends, add two small “C” shapes for his dimples and three little dots for his freckles.
- The Teeth: Don’t forget his signature buck teeth! Draw two small rectangles hanging from the center of his upper lip.
Read Also: How to Delete 23andMe Data
SpongeBob Color & Detail Guide
| Feature | Primary Color | Pro Tip |
| Body | Bright Yellow | Use light green for the “sponge holes” (craters). |
| Eyes | Sky Blue | Leave a tiny white “highlight” dot in the pupil for a lively look. |
| Tie | Crimson Red | Keep the tie small—it shouldn’t reach his belt. |
| Pants | Chocolate Brown | Use a ruler for the belt loops to keep them uniform. |
| Socks | White w/ Stripes | Add one blue and one red stripe at the top of each sock. |
3. Phase Three: The “Spongy” Details and Clothing
Now that you have a clean face, it’s time to add his signature texture and iconic outfit.
The Wavy Outline
Go over your original rectangle with a wavy, irregular line. Avoid making the waves too uniform; you want him to look like an organic object, not a machine-cut brick.
The Iconic Outfit
- The Shirt: Draw a straight horizontal line where his “head” meets his “pants.”7 Add two small triangles just below his mouth for his collar and a diamond shape for his tie.
- The Belt: Draw four small, black rectangles across his brown pants to represent his belt.8
- The Craters: Add various-sized ovals and circles randomly across his body to emphasize his spongy texture.9
4. Final Touches: Inking and Coloring
Once you are happy with your pencil sketch, trace over the final lines with a black marker or felt-tip pen.
- Erase the Guidelines: Wait for the ink to dry completely, then erase all those initial circles and rectangles.10
- Add Color: Use vibrant yellow for the body, but keep his shirt crisp white.11
- The “Pop” Factor: Use a slightly darker yellow or light brown to add subtle shading to the bottom of his body and under his arms to give him a 3D feel.
Conclusion
Learning how to draw SpongeBob is all about mastering the “square” but keeping the lines soft. If your first attempt isn’t perfect, don’t sweat it—even the animators at Nickelodeon had to practice to get those proportions exactly right. The more you draw him, the more you’ll find your own style!
Would you like me to create a step-by-step guide for Patrick Star or Sandy Cheeks to complete your Bikini Bottom collection?
Frequently Asked Questions (FAQ)
Q: Why does my SpongeBob look like a brick?
A: This usually happens when your outline is too straight. Make sure your “wavy” lines are irregular and soft. Also, ensure the top of his head is wider than his waist to avoid the “brick” look.
Q: How do I draw SpongeBob’s hands?
A: SpongeBob only has four fingers.12 Start with a small circle for the palm and draw four “hot dog” shaped fingers. The thumb should be slightly shorter and angled outward.
Q: What is the best paper for drawing cartoons?
A: Any smooth white paper will work, but if you plan on using markers, “Marker Paper” or “Bristol Board” is best because it prevents the ink from bleeding and keeps your colors vibrant.
Q: How do I make SpongeBob look “angry” or “sad”?
A: Most of SpongeBob’s expressions come from his eyebrows and mouth. For anger, tilt the inner corners of his eyebrows down toward his nose. For sadness, flip his smile into a “U” shape and make his eyes slightly larger and “glossy.”