Bunnies are adorable, fluffy, and a favorite subject for artists of all ages. Yet, capturing that cute, twitchy-nosed charm can feel tricky if you don’t know where to start. Whether you are drawing for an Easter card, a school project, or just for fun, staring at a blank page can be intimidating.
You don’t need to be a professional artist to create a great drawing. The secret is breaking the complex form of a rabbit down into simple, manageable shapes.
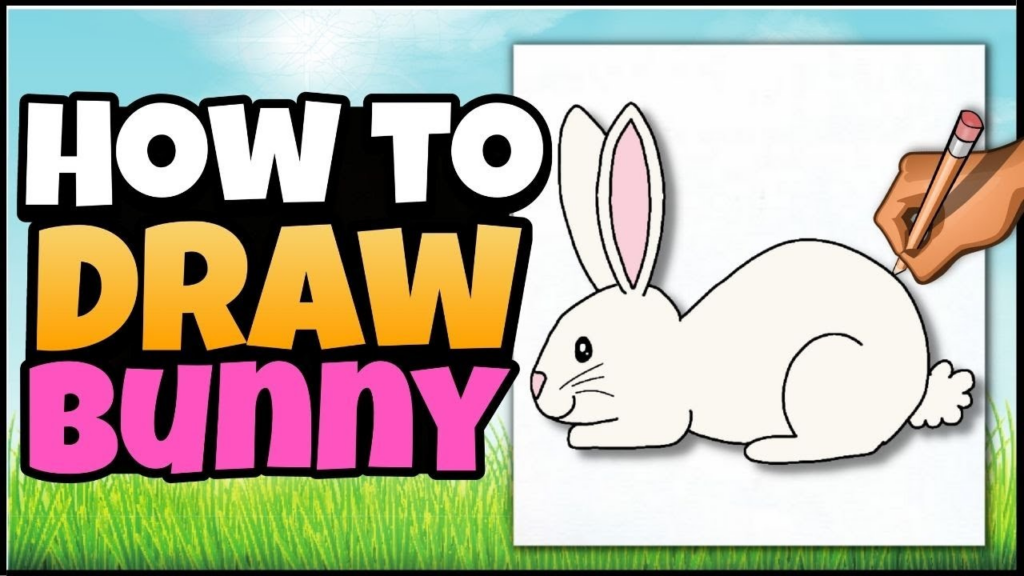
In this guide, we will walk you through the exact process of how to draw a bunny. From the initial sketch to the final fluffy details, you will gain the confidence to create your own cute cartoon rabbit in just a few minutes. Grab your pencil and let’s get started!
Learning how to to draw a bunny is a fun project for artists of any skill level. If you are wondering how do you draw a bunny, start with basic shapes like circles for the head and body. To draw a bunny successfully, focus on adding long, expressive ears and a small, twitching nose.
Many beginners ask, “how can you draw a bunny with a fluffy texture?” The secret is using short, light strokes for the fur. Once you draw the bunny outlines, add a round cotton tail to complete the look.
Key Takeaways
- Start with basic shapes: Use circles and ovals to construct the rabbit’s head, body, and limbs.
- Sketch lightly first: Draw your initial guidelines with light pressure so they are easy to erase later.
- Add details last: Focus on the main structure before adding eyes, whiskers, and fluffy textures.
- Practice makes perfect: Don’t worry if your first attempt isn’t perfect; use it as a learning experience.
What You Will Need
Learning how to draw a bunny step by step is the most effective way to improve your artistic skills. Start by sketching a small circle for the head and a larger oval for the body to understand how to draw a rabbit step by step.
Next, add long ears and a tiny tail to define the silhouette. If you are wondering how to draw rabbit step by step with realistic details, focus on adding light fur textures and expressive eyes in the final stages. Following these structured phases makes the process simple, fun, and highly rewarding for beginners.
- Pencil: A standard HB or No. 2 pencil is ideal for sketching.
- Eraser: A good quality vinyl or rubber eraser to clean up your guidelines.
- Paper: Any plain white paper or a sketchbook will work.
- Black Marker/Pen (Optional): For outlining your final drawing to make it pop.
- Coloring Tools (Optional): Colored pencils, crayons, or markers to bring your bunny to life
Read More: How to Sell on eBay
Step 1: Sketch the Basic Body Shapes
The foundation of any great drawing is building it with simple geometric shapes. We will start by lightly sketching the head and body.
Important: Press lightly with your pencil during this step. These are just guidelines that we will erase later.
Creating a bunny drawing easy enough for beginners starts with simple ovals for the body and head. If you are looking for bunny drawings easy to replicate, focusing on large ears and a tiny “Y” shape for the nose makes a huge difference.
An easy bunny drawing can be completed in just a few steps by adding a fluffy tail and whiskers. For a cute bunny easy drawing, keep the eyes large and expressive. If you want to learn how to draw a bunny easy and fast, practice using light pencil strokes so you can refine your lines as you go.
1. Draw the Head
If you are curious about a rabbit how to draw guide, the best approach is to start with simple geometric shapes to build the structure. To understand how to draw rabbit features accurately, focus on the unique placement of the eyes on the sides of the head and the distinctive length of the ears.
When learning how to draw a rabbit, it helps to sketch the powerful hind legs first to capture its natural sitting posture. By practicing these basic techniques, you will soon find that mastering how to draw a rabbit is both a fun and creative way to improve your sketching skills.
2. Add the Body
Below the head, draw a larger oval for the body. This oval should overlap slightly with the bottom of the head circle. Imagine a shape similar to an egg or a bean.
- Tip: The size of the body oval compared to the head will determine how “chubby” your bunny looks.
Step 2: Add the Ears and Limbs
Now that we have the main structure, it’s time to add the defining features that make it look like a rabbit.
1. Draw the Long Ears
Bunnies are famous for their long ears. Draw two long, slender oval shapes extending upwards from the top of the head. You can draw them straight up, or for a cuter look, make one ear slightly floppy or bent.
2. Sketch the Back Legs
Rabbits have powerful back legs. Inside the lower part of the body oval, draw two large, curved shapes. These should look like big, rounded triangles or ovals representing their thighs and feet.
3. Add the Front Paws
Draw two smaller, simpler oval shapes near the front-center of the body for the front paws. They should be positioned under the chest area.
Step 3: Outline the Final Bunny Shape
At this point, your drawing looks like a collection of circles and ovals. Now, we will connect these shapes to form the final outline of the bunny.
- Connect the head and body: Draw smooth lines to connect the sides of the head circle to the body oval, forming the neck.
- Refine the legs and ears: Trace over the outer lines of your ear and leg shapes to make them look like solid parts of the body, not just separate ovals.
- Create the tail: On the back of the body, draw a small, fluffy cloud shape for the cotton tail.
Once you have a solid outline you are happy with, take your eraser and carefully remove all the inner guidelines and overlapping lines from Step 1 and 2. You should now have a clean silhouette of a rabbit.
Step 4: Add the Cute Face Details
This is where your drawing truly comes to life! The placement of the facial features will give your bunny its personality.
Learning how to draw a bunny cute is all about focusing on soft features and oversized eyes. To master a cute rabbit drawing, start with a large, round head and a smaller body to give it a “chibi” look.
If you are wondering how to draw a cute bunny, adding a tiny pink nose and long, floppy ears will immediately boost its charm. Practice how to draw a cute rabbit by sketching it in a sitting position with a fluffy cotton tail. With these simple tips, anyone can create an adorable and heartwarming character quickly.
1. Draw the Eyes
Draw two small circles in the middle of the head for the eyes. To make them look cute and shiny, draw a tiny smaller circle inside each eye (for a light reflection) and color in the rest of the eye black.
2. Add the Nose and Mouth
Below the eyes, draw a small, inverted triangle or a tiny oval for the nose. Underneath the nose, draw two curved lines branching outwards (like a rounded “w” shape) for the mouth.
3. Don’t Forget Whiskers!
Draw three long, thin lines extending outwards from each cheek. These are essential for that classic bunny look.
Step 5: Final Touches and Coloring
You have successfully learned how to draw a bunny! Now you can finalize your artwork.
- Inking: If you want a professional, cartoony look, trace over your final pencil lines with a black marker or fine-liner pen. Let the ink dry completely, then erase any remaining pencil marks.
- Adding Texture: Use short, light pencil strokes inside the ears and on the chest to simulate fluffy fur.
- Coloring: Use your favorite coloring tools to bring your rabbit to life. Classic colors are white, brown, or grey, but feel free to get creative! Add pink to the inside of the ears and the nose for a cute touch.
Comparison: Cartoon Bunny vs. Realistic Bunny
Depending on your goal, you might want to adjust your style. Here is a quick comparison of the approaches.
| Feature | Cartoon Style (This Tutorial) | Realistic Style |
| Shapes | Simple circles and ovals. | Complex, anatomical shapes. |
| Eyes | Large, expressive, front-facing. | Smaller, placed on the sides of the head. |
| Proportions | Often a large head and small body (“chibi”). | accurate head-to-body ratio. |
| Fur Detail | Minimal, often implied with smooth lines. | detailed shading to show texture and muscle. |
Conclusion
Drawing a bunny doesn’t have to be complicated. By starting with simple shapes and building up the details step-by-step, anyone can create an adorable rabbit drawing.
Remember, the key is to sketch lightly at first and have fun with the process. Practice drawing different ear shapes or poses to create a whole family of bunnies.
Ready to try another animal? Let us know in the comments what you want to learn to draw next!
Frequently Asked Questions (FAQ)
Q: My bunny’s proportions look wrong. What can I do?
A: This is a common issue! The best fix is to check your initial circles in Step 1. Ensure the body oval is significantly larger than the head circle. You can always erase and resize your initial shapes until they look balanced before adding details.
Q: How do I make my bunny look fluffier?
A: Instead of using smooth, continuous lines for the outline, use short, jagged strokes to simulate fur texture. You can also add small tufts of “hair” on the cheeks, top of the head, and chest.
Q: Can I use this method to draw a bunny from a different angle?
A: Yes! The principle of using basic shapes applies to any angle. To draw a bunny from the side, you would simply shift the placement of the circles. The head circle would be placed in front of the body oval, rather than on top of it.
Q: What is the best way to color a white bunny?
A: To make a white bunny look interesting on white paper, use light grey or light blue colored pencils to add gentle shading underneath the chin, belly, and legs. This adds dimension without making the bunny look dark.