If your only experience with eggnog is the syrupy, neon-yellow stuff from a cardboard carton, you haven’t truly tasted eggnog. Real, homemade eggnog is more like a chilled, drinkable custard—velvety, perfectly spiced, and rich enough to feel like a true celebration.
The biggest hurdle for most home cooks is the fear of “scrambled egg” soup or safety concerns regarding raw eggs. However, mastering how to make eggnog is actually simpler than making a standard gravy once you understand the art of tempering.
In this guide, we’ll walk you through a foolproof, cooked-base method that ensures a smooth texture and total peace of mind. Whether you want it boozy or kid-friendly, this is the only recipe you’ll ever need.
Key Takeaways
- The Tempering Trick: Slowly adding hot milk to eggs prevents them from curdling or scrambling.
- Safety First: Cooking the base to 160°F kills potential bacteria while creating a thick, luxurious mouthfeel.
- Fresh is Best: Freshly grated nutmeg is non-negotiable; pre-ground powder loses its essential oils almost instantly.
- The Chill Factor: Eggnog tastes significantly better after at least 3–4 hours in the fridge, allowing the spices to meld.
- Versatile Spirits: Bourbon, dark rum, and brandy are the traditional trio for spiking your nog.
1. Gather Your Ingredients
To make a world-class eggnog, you need high-fat dairy and fresh spices. Don’t reach for the skim milk here; the fat is what carries the flavor.
- 6 Large Egg Yolks: These provide the yellow hue and the creamy emulsification.
- 1/2 Cup Granulated Sugar: Adjust slightly if you prefer a less sweet drink.
- 1 Cup Heavy Whipping Cream: For that “melted ice cream” texture.
- 2 Cups Whole Milk: The essential liquid base.
- Spices: 1/2 tsp ground nutmeg (freshly grated), a pinch of salt, and 1/4 tsp vanilla extract.
- Optional Alcohol: 1/4 to 1/2 cup of bourbon, rum, or brandy.
Read Also: How to Lower Blood Pressure Quickly
2. The Step-by-Step Cooking Process
Step 1: Whisk the Base
In a medium-sized bowl, whisk your egg yolks and sugar together until the mixture is pale yellow and slightly fluffy. This usually takes about 1-2 minutes of vigorous whisking.
Step 2: Heat the Dairy
In a saucepan over medium heat, combine the milk, cream, nutmeg, and salt. Stir constantly until the mixture begins to steam and reaches a bare simmer. Do not let it boil, or the dairy may scald.
Step 3: Temper the Eggs (Crucial Step)
This is the secret to how to make eggnog without lumps. Take a small ladle of the hot milk and slowly drizzle it into the egg mixture while whisking constantly. Repeat this with 2-3 more ladles of milk. By slowly raising the temperature of the eggs, you prevent them from cooking into solid bits.
Step 4: Thicken the Custard
Pour the tempered egg mixture back into the saucepan with the remaining milk. Cook over medium-low heat, stirring constantly, until the liquid thickens enough to coat the back of a spoon. If you have a thermometer, aim for 160°F.
Traditional vs. Quick-Fix Eggnog
| Feature | Cooked Custard (Recommended) | Blender Method (Quick) |
| Texture | Thick, Velvety, Luxurious | Frothy, Lighter |
| Safety | High (Eggs are pasteurized) | Low (Uses raw eggs) |
| Effort | 15–20 Minutes | 5 Minutes |
| Shelf Life | Up to 7 Days | 1–2 Days |
Export to Sheets
3. The Finishing Touches
Once your eggnog has reached the perfect thickness, remove it from the heat and stir in the vanilla extract. If you are making a spiked version, this is also the time to stir in your alcohol.
Pro Tip: Pour your finished eggnog through a fine-mesh strainer into a pitcher. This catches any tiny bits of egg that might have curdled, ensuring a 100% silky finish.
4. Serving Suggestions
Homemade eggnog should always be served chilled. For a truly professional presentation:
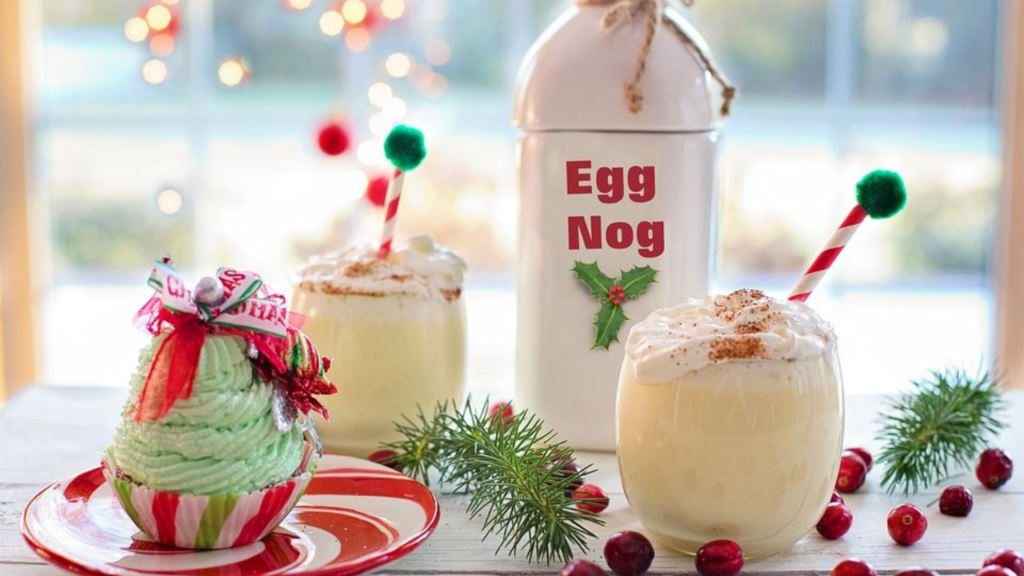
- Top each glass with a dollop of freshly whipped cream.
- Add a final dusting of cinnamon or nutmeg.
- For a “frothy” traditional style, fold in beaten egg whites just before serving.
Conclusion
Learning how to make eggnog from scratch is a holiday rite of passage. Once you’ve tasted the difference that real cream and tempered yolks make, the store-bought versions will never satisfy you again. It’s a rich, comforting tradition that you can easily customize to your family’s taste.
Would you like me to find a recipe for a vegan “Coquito” (coconut-based eggnog) or a list of the best bourbons to pair with this recipe?
Frequently Asked Questions (FAQ)
Q: Is homemade eggnog safe to drink?
A: Yes, provided you follow the cooked method. Heating the egg and milk mixture to 160°F (71°C) effectively kills Salmonella while thickening the drink into a safe, delicious custard.
Q: How long does homemade eggnog last in the fridge?
A: Because it contains fresh dairy and eggs, homemade eggnog should be consumed within 5 to 7 days. If you add a high volume of alcohol (like bourbon), it can act as a preservative and slightly extend that shelf life.
Q: Can I make eggnog without alcohol?
A: Absolutely! Simply omit the spirits. If the mixture feels too thick without the liquid from the alcohol, you can thin it out with an extra splash of milk or half-and-half after it has chilled.
Q: Why is my eggnog lumpy?
A: Lumps usually mean the eggs were added to the hot milk too quickly (scrambling them) or the mixture was allowed to boil. You can usually fix this by running the eggnog through a blender or a fine-mesh strainer.