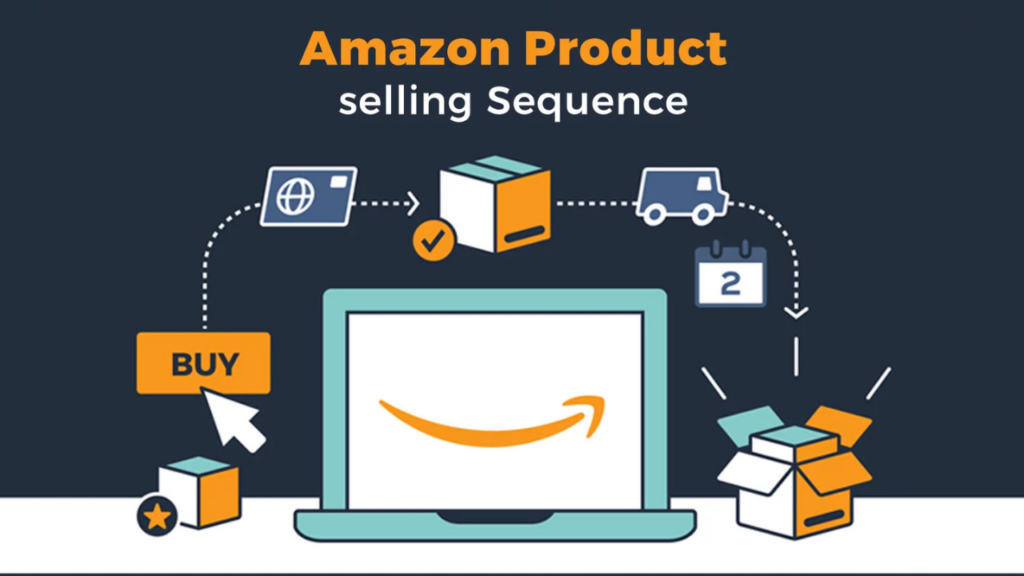
Amazon is more than just an online store; it’s a global marketplace with hundreds of millions of active customers. It represents an unparalleled opportunity for entrepreneurs to reach a massive audience without ever building a single website. You’ve likely heard the success stories, and you’re ready to create one of your own.
The truth is, starting to sell on Amazon can feel overwhelming. There are so many moving parts: picking a product, sourcing inventory, understanding fulfillment, and mastering listing optimization.
We’ve stripped away the complexity. This guide provides a clear, actionable, 7-step roadmap that simplifies the process, whether you plan to launch your own brand or just sell a few used items. Let’s unlock the massive potential of being an Amazon seller.
To become an amazon seller, you first need to choose a plan and register your amazon selling business on Seller Central. Whether you want to sell products in amazon as an individual or a professional, you must research high-demand items to sell products on amazon successfully. Many people sell on amazon using Fulfillment by Amazon (FBA) to handle shipping and returns automatically.
Once you amazon start selling, focusing on selling on amazon with optimized listings and clear images will help you grow. Starting your journey of selling amazon items requires consistency, but it is a proven way to build a global amazon selling business.
Key Takeaways
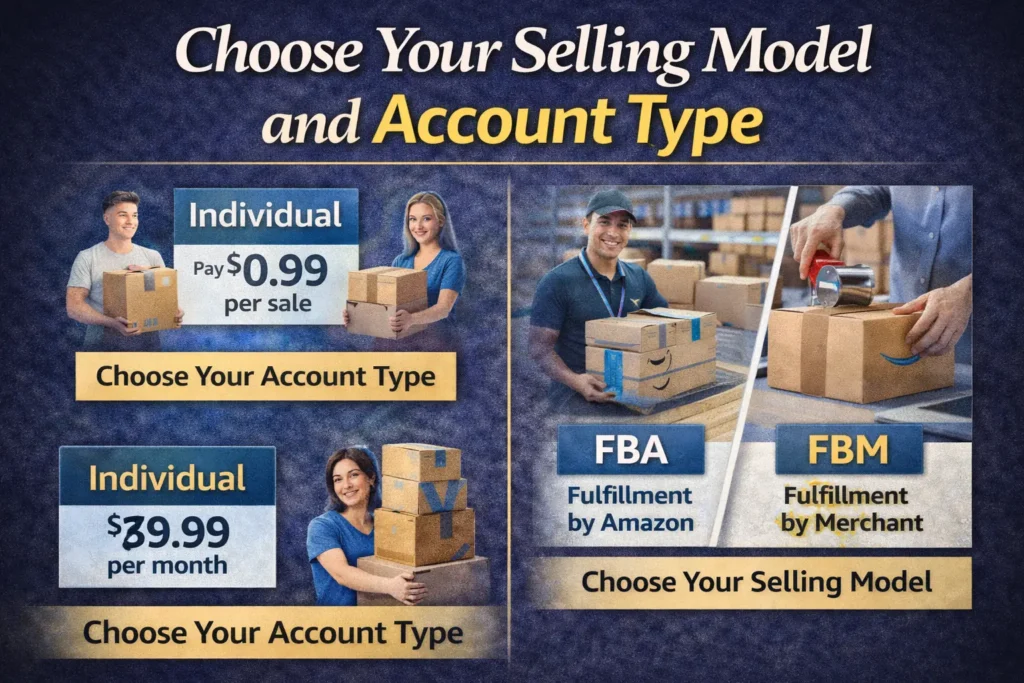
- Choose a plan: Decide between the Individual (pay per sale) and Professional (monthly fee) selling accounts.
- Fulfillment is crucial: Select between FBA (Fulfillment by Amazon) for hands-off logistics or FBM (Fulfillment by Merchant) for full control.
- Product research is paramount: Use tools to find low-competition, high-demand items before investing in inventory.
- Optimization drives sales: Your product listing needs excellent photos and keyword-rich titles to rank well.
Step 1: Choose Your Selling Model and Account Type
To open amazon seller account, you must first visit the official portal to create amazon seller account by choosing between an individual or professional plan. The amazon seller account sign up process requires a valid government ID, bank statements, and tax information to verify your identity.
Once you open amazon seller account, you can access the amazon seller central account dashboard to list products and manage orders. For those targeting the US market, an amazon seller central usa account provides tools to reach millions of customers across North America.
To amazon seller create account successfully, ensure all your documents match your legal name. After you amazon sign in seller account, you can start utilizing Fulfillment by Amazon (FBA) to grow your amazon selling account into a global business.
A. Selling Model: Private Label vs. Retail Arbitrage
If you want to become an amazon seller, the first step is to register on Seller Central and choose a niche. Learning how to sell on amazon involves sourcing high-quality items and creating optimized listings. Many beginners ask how to sell things on amazon or how to sell products on amazon successfully; the secret lies in using FBA for shipping. To how to start selling on amazon, simply set up your account and research how to sell stuff on amazon efficiently. Once you master how to sell something on amazon, your business can scale globally.
- Private Label (Creating Your Own Brand): You find a generic product (like a phone case), brand it with your logo, and sell it exclusively. This is the most profitable long-term strategy but requires more upfront investment.
- Retail/Online Arbitrage: You buy discounted items from physical stores or other websites (like Walmart or Target) and resell them on Amazon for a profit. This is a great way to start with low capital.
Read Also: How to Cancel Amazon Prime
B. Account Type: Individual vs. Professional
Amazon offers two main seller plans. Choose the one that best fits your scale.
| Feature | Individual Plan | Professional Plan |
| Monthly Fee | $0 | $39.99/month |
| Per-Item Fee | $0.99 per item sold | $0 |
| Best For | Selling fewer than 40 items per month. | Selling more than 40 items per month / Private Label. |
| Key Access | Limited category access; no reports. | Access to APIs, advanced reports, and Buy Box eligibility. |
Action: If you are serious about building a business and selling more than 40 units monthly, go with the Professional Plan. It quickly pays for itself.
Step 2: Product Research and Sourcing
You cannot succeed selling a product that no one wants. Product research is the single most important factor. You are looking for a gap in the market.
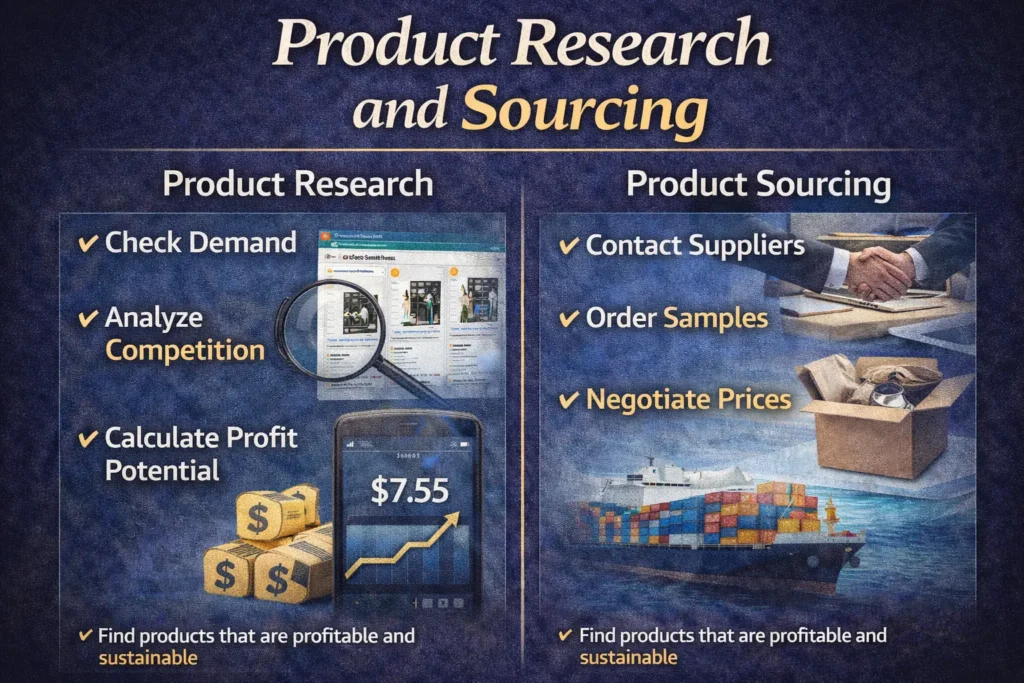
- Look for Low Competition: Find products with decent monthly sales but fewer than 500 reviews on the top listings.
- Identify High Demand: Products that sell at least 300 units monthly are a good benchmark.
- Sourcing: Most Private Label sellers use marketplaces like Alibaba to find manufacturers overseas. You will need to order a sample first to verify quality.
Step 3: Master Fulfillment: FBA vs. FBM
To sell on amazon fba, you simply send your products to Amazon’s warehouse, and they handle the storage, packing, and shipping for you. If you want to know how to sell on amazon without inventory, you can use methods like dropshipping or print-on-demand, where products ship directly from the supplier only after a sale is made.
Using sell on amazon fba allows you to reach Prime customers easily, while learning how to sell on amazon without inventory is a great way to start with minimal upfront costs. Both strategies are excellent for growing a flexible online business.
Fulfillment by Amazon (FBA)
You ship your inventory in bulk to an Amazon warehouse. When a customer buys your product, Amazon handles picking, packing, shipping, customer service, and returns.
- Pros: Access to Prime 2-Day Shipping (huge advantage), hands-off logistics.
- Cons: Higher fees, less control over inventory.
Fulfillment by Merchant (FBM)
You store the inventory yourself (at home or a warehouse). When a customer buys, you manually pack and ship the item.
- Pros: Lower fees, complete control over packaging and shipping speed.
- Cons: You must handle all customer service and labor.
Recommendation: If you sell new products or plan to scale, FBA is the gold standard for offering customers the best experience.
Step 4: Create a Killer Product Listing
Your listing is your digital storefront. It must be optimized to attract Amazon’s search algorithm and persuade the customer.
- High-Quality Photos: Invest in professional photos. They are the most critical factor in conversion. Include multiple angles and lifestyle shots.
- SEO Title: Your title must include your most important keywords (the search terms customers use). The primary keyword should go near the beginning.
- Detailed Bullet Points: Use the five bullet points to highlight benefits, not just features. Use easy-to-read formatting.
- A+ Content (Brand Registry): If you are a brand owner, leverage A+ Content (formerly Enhanced Brand Content) to use rich images and comparison charts below the fold.
Step 5: Pricing Strategy
Your price must balance profit with competitiveness. Use Amazon’s Seller App to quickly calculate your profit margin after FBA fees, referral fees, and shipping costs.
To sell on amazon as a business, you should register for a Professional Seller account, which allows you to list unlimited products for a flat monthly fee. This plan is essential if you want to sell on amazon business to B2B customers, offering them exclusive quantity discounts and business-only pricing.
By choosing to sell on amazon as a business, you gain access to advanced analytics, bulk listing tools, and eligibility for the “Buy Box.” Whether you are a small startup or an established brand, opting to sell on amazon business helps build credibility and scales your operations through professional marketing and fulfillment tools.
- Monitor Competition: Stay within 5–10% of your top competitors’ prices initially to build sales velocity.
- Launch Strategy: Consider pricing slightly lower than the competition during the first 30 days to generate initial sales and reviews.
Step 6: Drive Traffic with Amazon Advertising (PPC)
Once your listing is perfect, you need eyes on it. Amazon PPC (Pay-Per-Click) advertising is essential for new products.
- Start with Automatic Campaigns: Let Amazon’s algorithm decide which keywords to target based on your listing. This is a great way to discover new, high-converting keywords.
- Transition to Manual: Once you know which keywords are profitable, create a manual campaign to bid specifically on those terms.
Step 7: Manage and Scale
The work doesn’t stop after the first sale. Successful sellers are constantly optimizing.
- Monitor Reviews: Respond quickly to both positive and negative reviews to maintain a high seller rating.
- Manage Inventory: Never run out of stock. Running out kills your organic search ranking and takes months to recover.
- Reinvest: Take the profits from your first product and reinvest them into better inventory, new product lines, and more PPC advertising.
Conclusion
The journey of how to sell on Amazon is a step-by-step process: research, source, set up FBA, optimize your listing, and drive traffic. It takes dedication, but the system is robust and proven.
You have the roadmap. The biggest differentiator between those who succeed and those who quit is consistent execution. Start small, learn fast, and commit to scaling your business on the world’s largest retail platform.
Would you like me to find the current Amazon Referral Fees (the percentage Amazon takes per sale) for a specific product category you are interested in?
Frequently Asked Questions (FAQ)
Q: How much does it cost to start selling on Amazon?
A: The minimum starting cost is the $39.99 monthly Professional Seller fee plus the cost of your first batch of inventory. Realistically, budget $1,500 to $5,000 to cover inventory, samples, high-quality photos, and initial PPC advertising.
Q: Do I need a business license to sell on Amazon?
A: Amazon does not require a formal business license to open an account. However, you will need a valid credit card, a government-issued ID, a bank account, and tax information. We highly recommend consulting with a legal professional to register your business (LLC, etc.) for liability purposes.
Q: What is the “Buy Box”?
A: The Buy Box is the prominent button on a product page that says “Add to Cart” or “Buy Now.” Winning the Buy Box is crucial for sales. Eligibility is determined by price, fulfillment method (FBA is favored), and seller rating.
Q: How long does it take to see profit when selling on Amazon?
A: For a Private Label product, it typically takes 3 to 6 months to move from product research to the first profitable sale, factoring in sourcing and shipping time. Profitability depends heavily on effective PPC management and the competitiveness of your niche.